As Seen On: Style Me Pretty | Best Friends for Frosting
Business Card Printing: Fort Heavy | Designer: Justine Ma
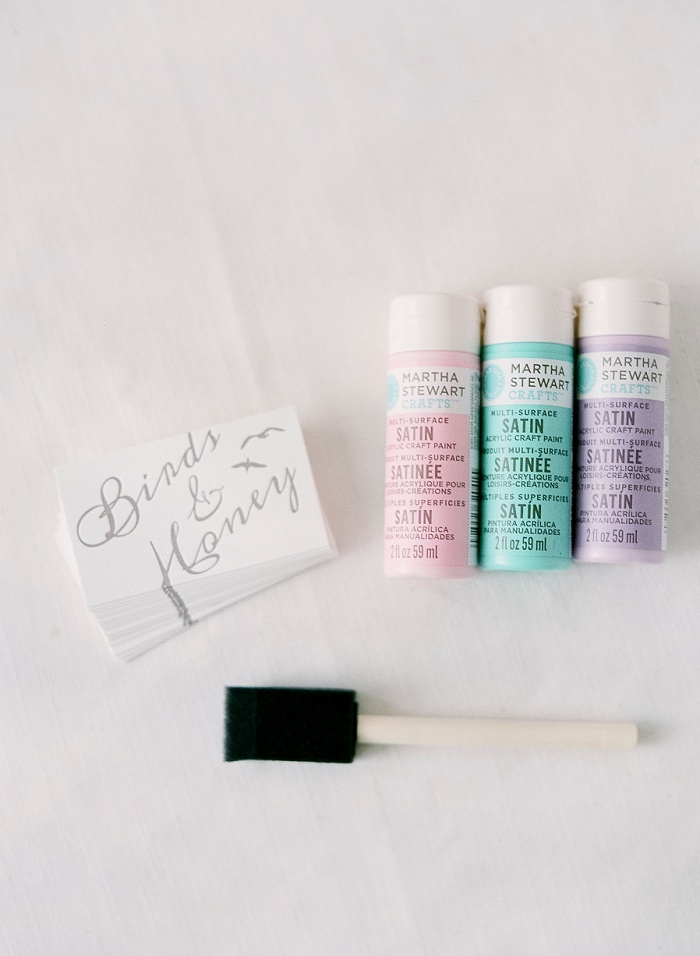
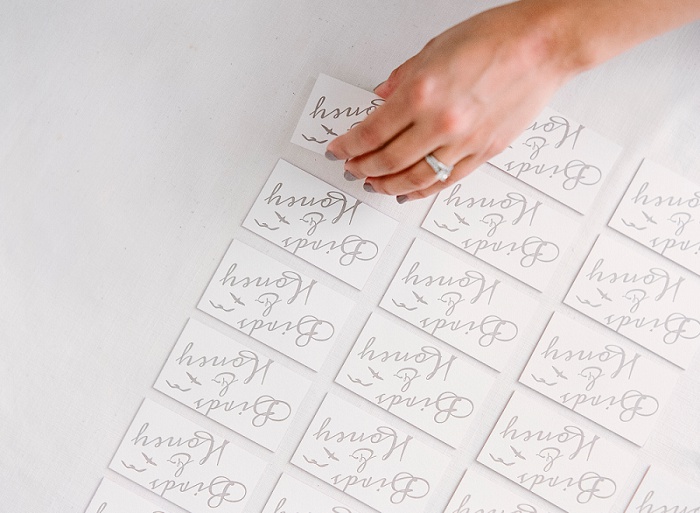
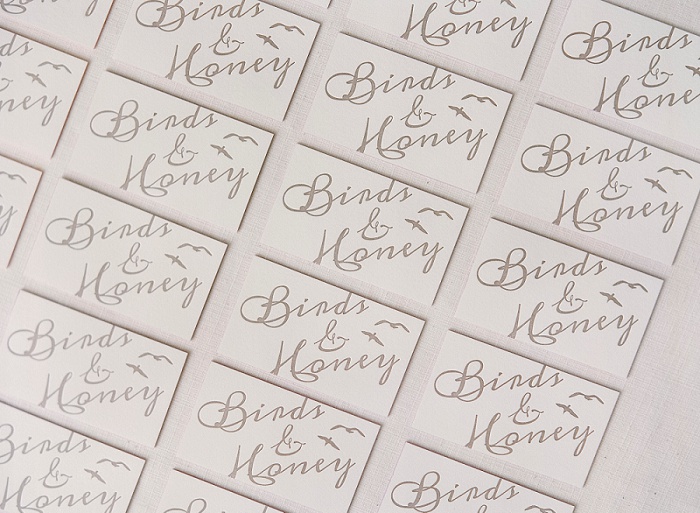
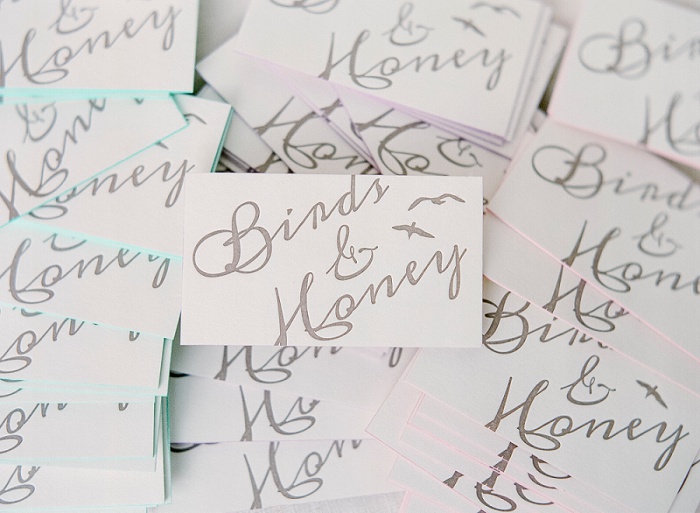
Stylist: Mona Abosaid from Birds & Honey
MATERIALS:
1. Your gorgeous fresh new business cards! P.S. – I would definitely recommend a much thicker card stock because these babies will bleed through if the cards are too thin. My cards were done via letter press and I chose the thickest type of card possible, but I have heard of many people who were happy using Moo or Jukebox print.
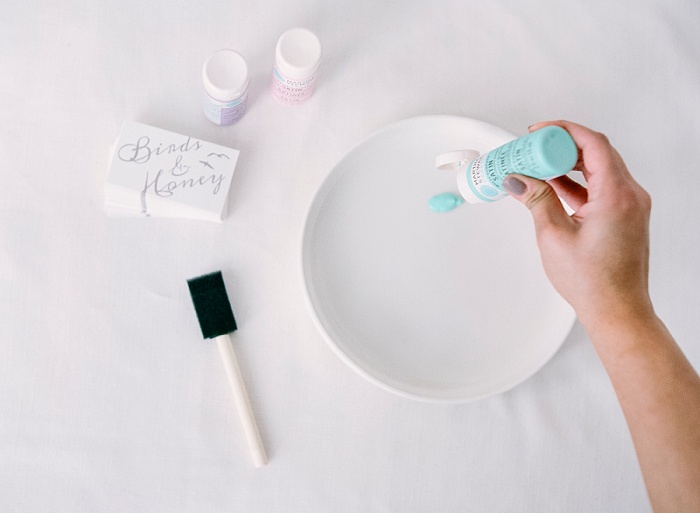
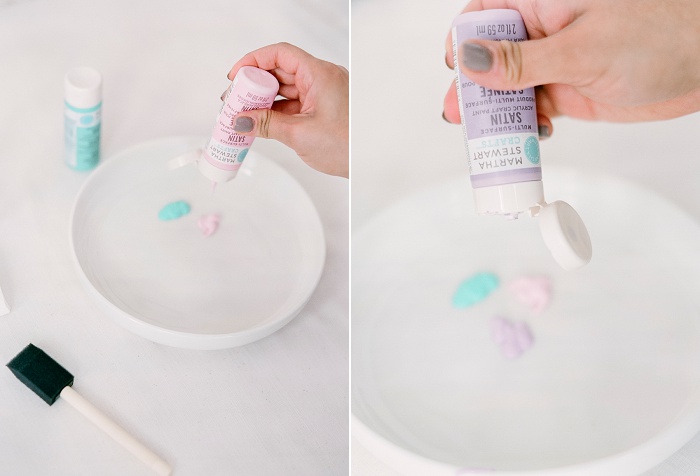
2. Acrylic paint. I used Martha Stewart Crafts Satin Paints (on sale at Micheal’s for $1.99 each – Score!!!)
3. Sponge brushes. You can get these in packs of 6 at the dollar store!
4. A lot of people use clamps, but I personally like just holding them tightly with my hands. So feel free to do it with or without!
5. Lots of newspaper to let your cards air out when they are drying.
INSTRUCTIONS:
1. Get a decent stack of cards ready. I found that doing stacks of about 30 was good for me. If I put more than 30, the cards seemed to get stuck together. If you are using a clamp, make sure you get them together as tight as possible. I chose to go the clamp-less way because I felt like I was able to control the painting and drying times better this way. Remember, acrylic paint dries super fast so you want to separate these beauties as soon as possible. Also, don’t be alarmed that the top and bottom cards will get a little yucky in the mean time. I used the same ones over and over again for the top and bottom as to not waste others.
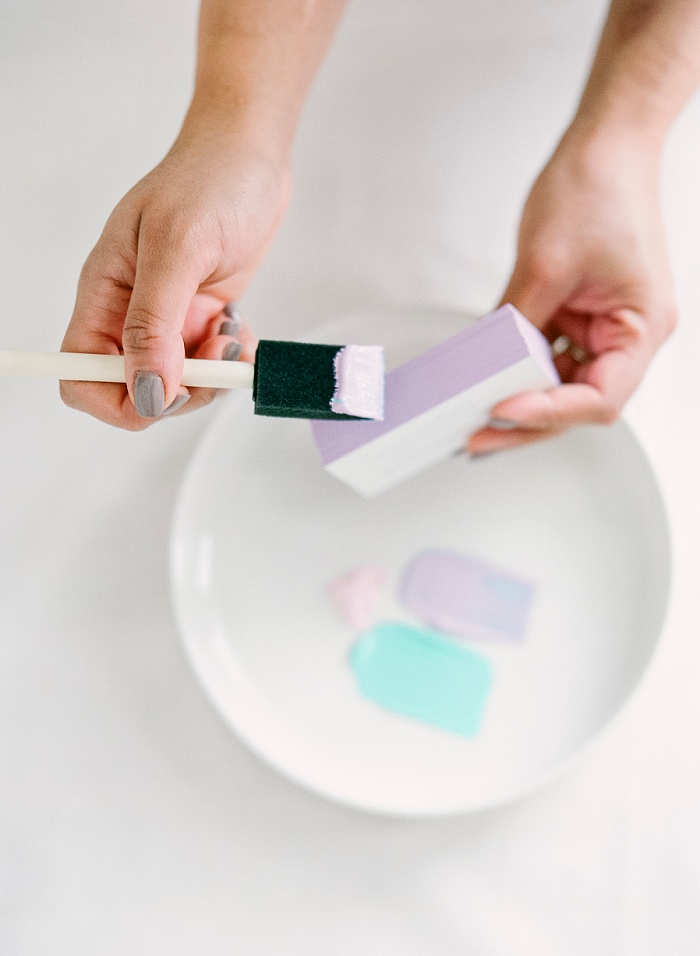
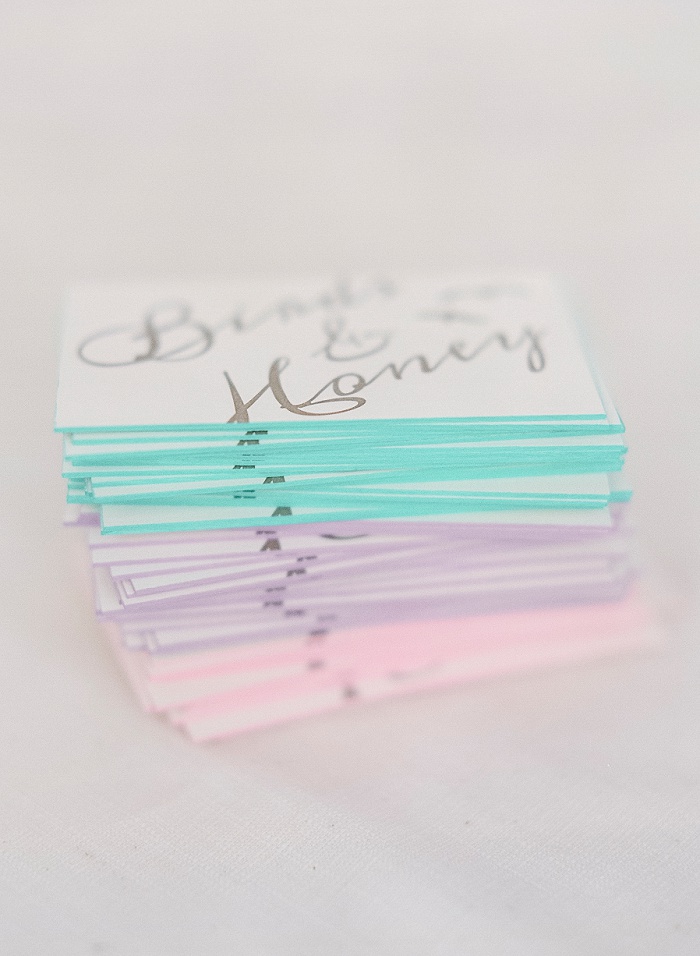
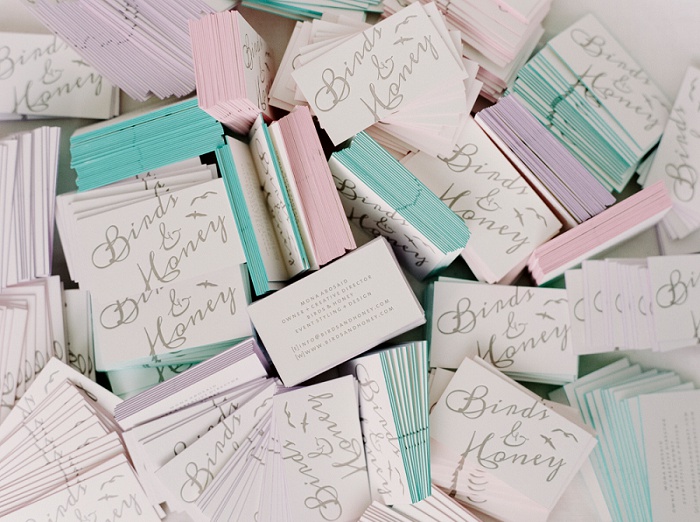
2. Once your stack is aligned and good to go gently stroke your sponge brush with the desired paint color a couple times. You should be able to get full coverage with just 2-3 strokes. Don’t over paint them as that will likely cause the paint to bleed through the cards.
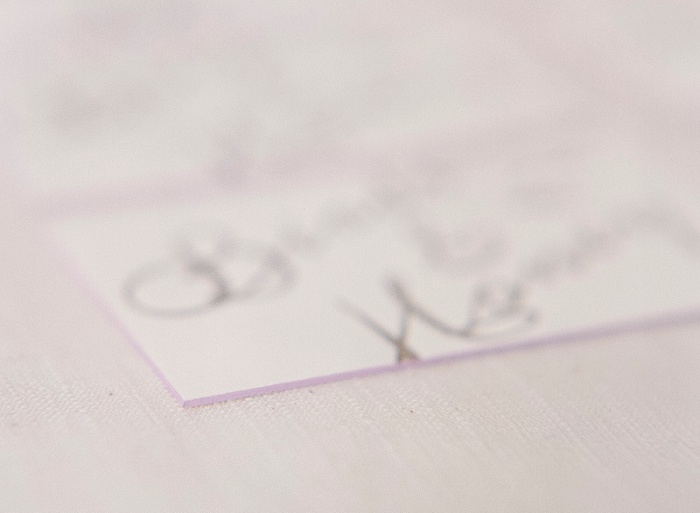
3. Once all four sides are painted, give it just a couple minutes to dry. Please, please, pretty please, don’t forget about them once they’re drying! They literally just need a couple of minutes to dry before you take them apart. The longer you wait, the harder it will be to take the cards apart.
4. Take the cards a part one by one and let them air out nicely for about 20 minutes. I did this DIY with a girlfriend and one of us would do the painting while the other was doing the drying task. It honestly makes for such a great time and makes the process go by a whole lot faster than doing it all by yourself!
And that’s it lovelies! Easy peezie! Now you have the most gorgeous painted edges to go along with those beautiful business cards! And the plus…. all of the supplies come in under $7.00!