Fashion Blogger

DIY Summer Floral Arrangement


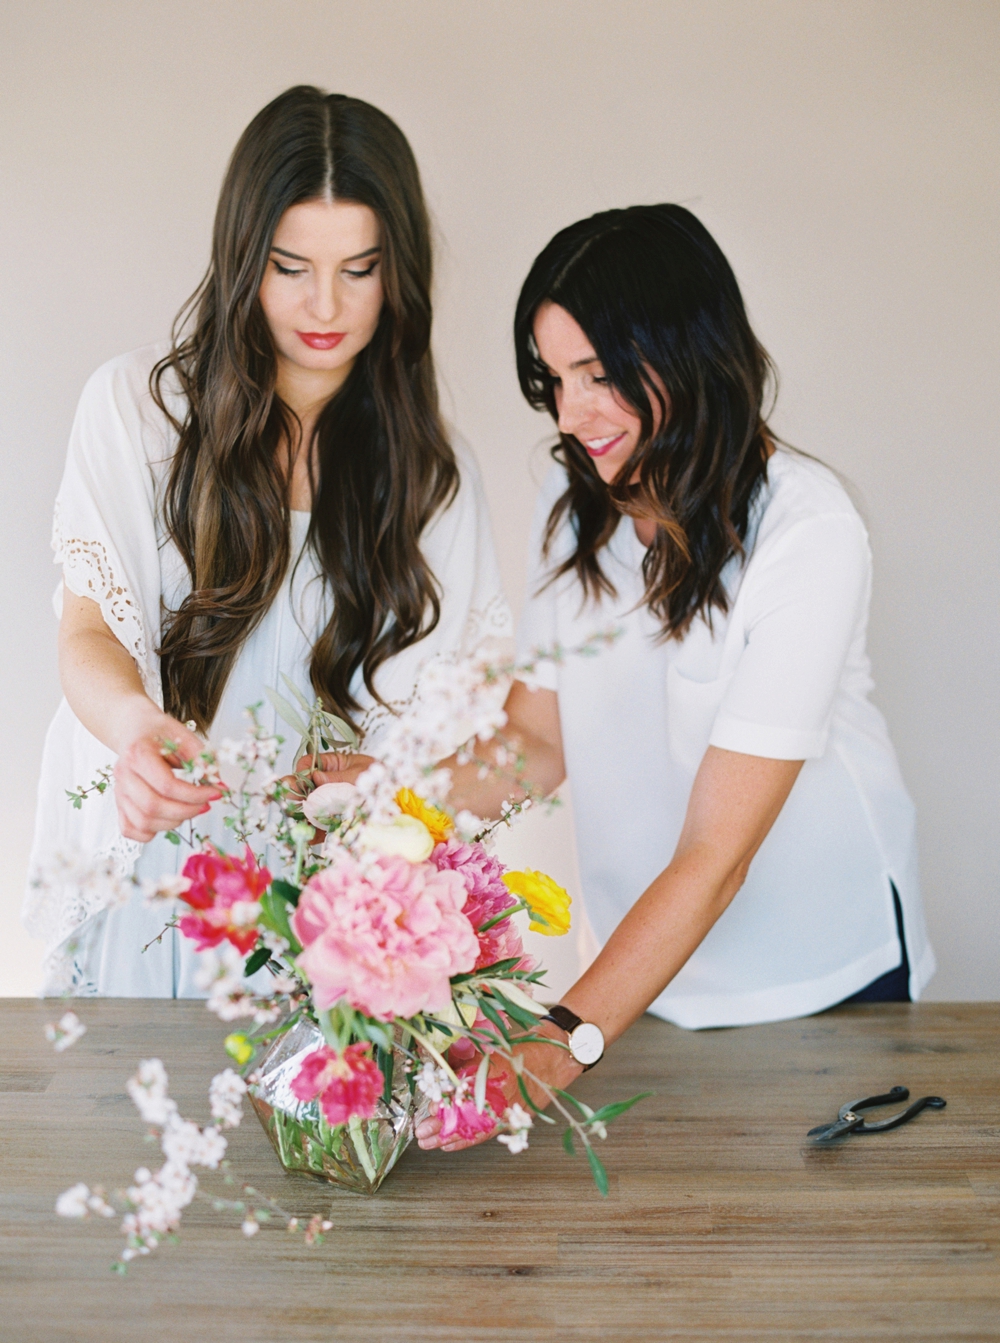
I recently worked with Justine Celina and Rebecca Dawn Design to share with you this amazing floral arranging tutorial!

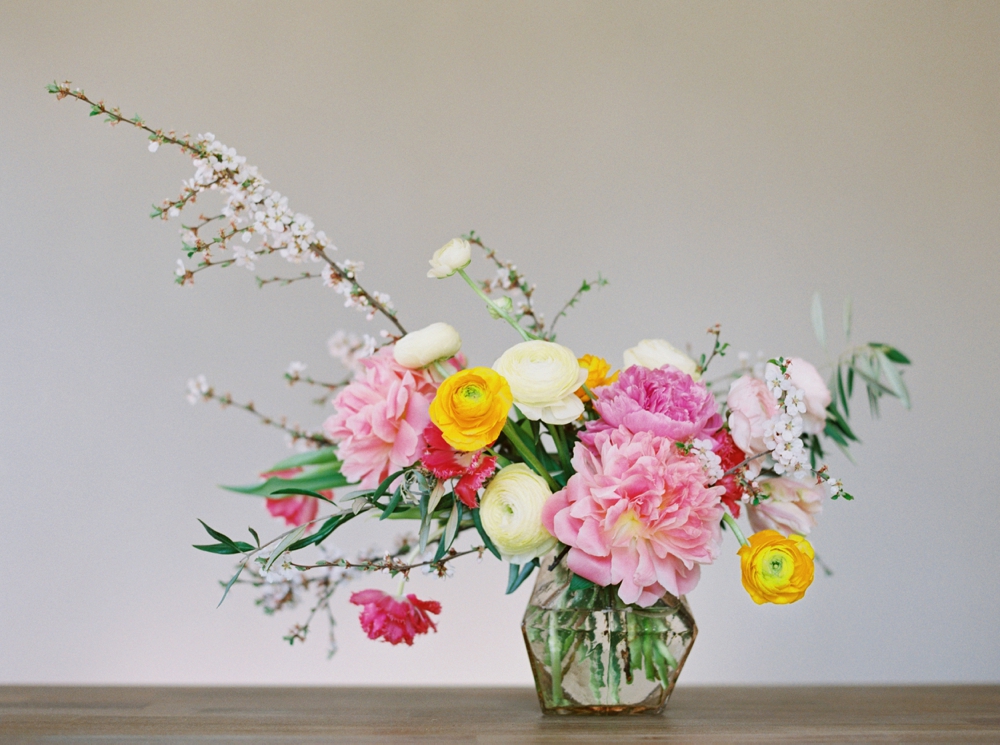
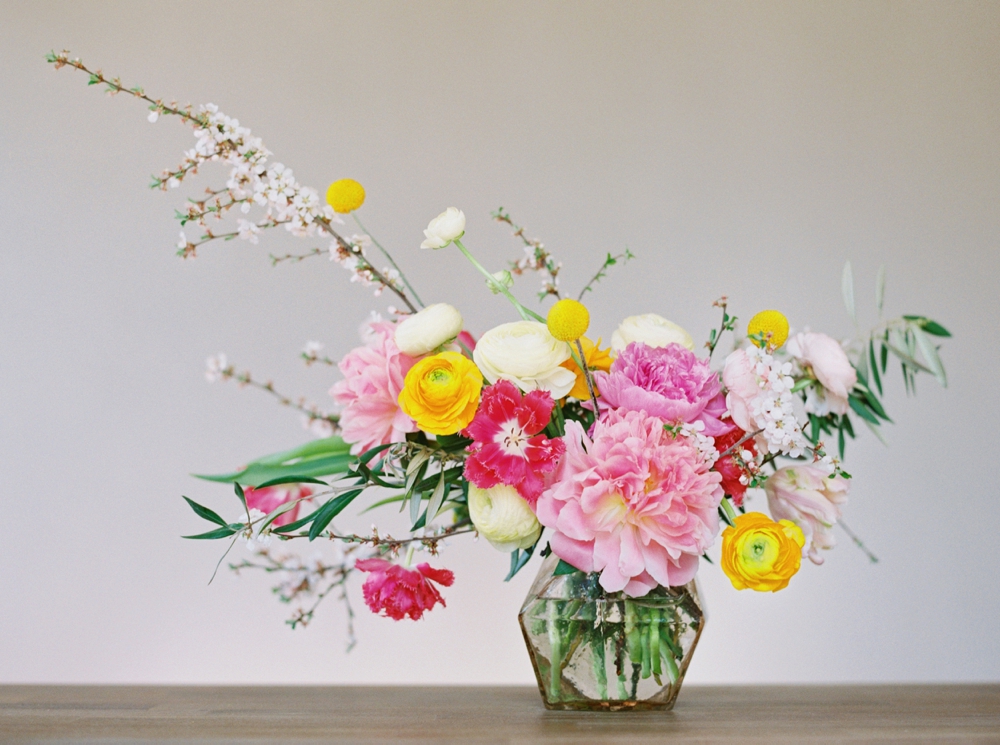
DIY | HOW TO MAKE A SUMMER FLOWER ARRANGEMENT

Calgary Wedding Photographers | fine art film wedding photographer | commercial photography | diy | floral arranging


INGREDIENTS


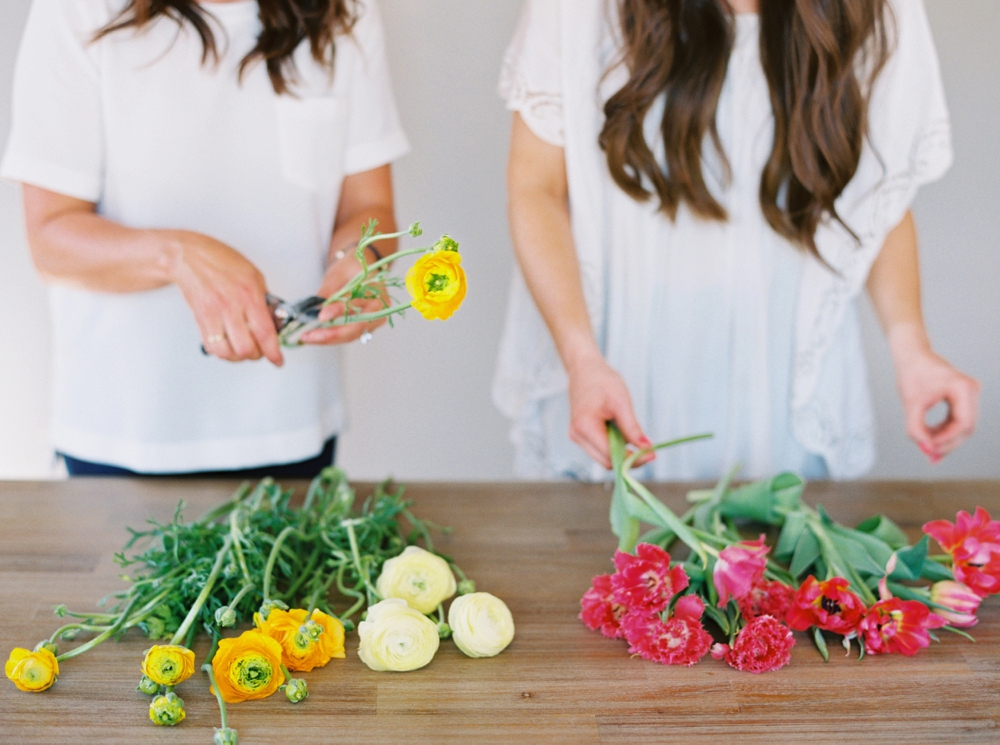
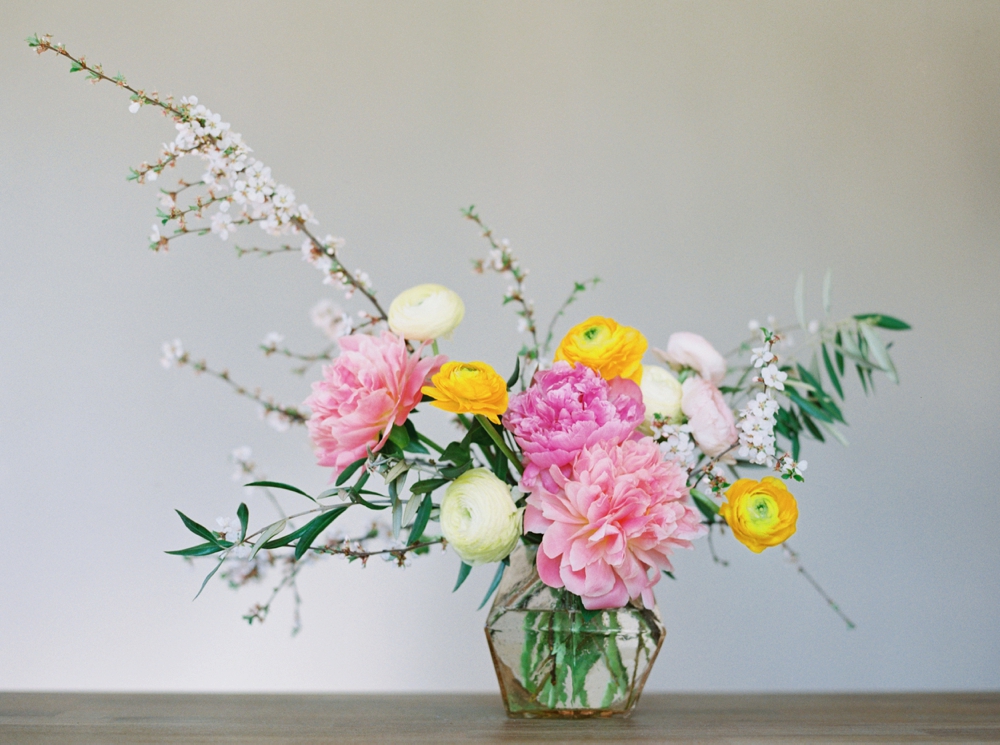
Here’s a list of the blooms and branches in this colourful summer flower arrangement!

Calgary Wedding Photographers | fine art film wedding photographer | commercial photography | diy | floral arranging

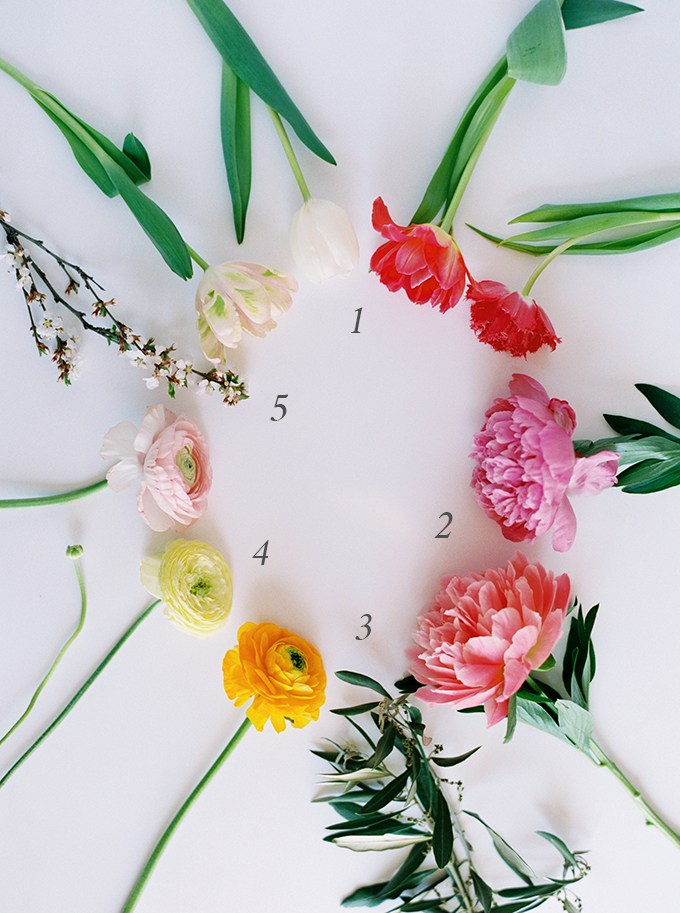
1. Tulip Varieties | 2. Peonies | 3. Olive Branch | 4. Ranunculus | 5. Nanking Cherry Branch

Calgary Wedding Photographers_2203.jpg

Just like your favourite recipe, an arrangement also has a list of ingredients. Typically there are primary flowers and secondary flowers — and sometimes tertiary flowers and foliage depending on the complexity of the arrangement. Our DIY summer arrangement features primary flowers, secondary flowers and foliage. Here’s a breakdown of all the ingredients and tools used we used!
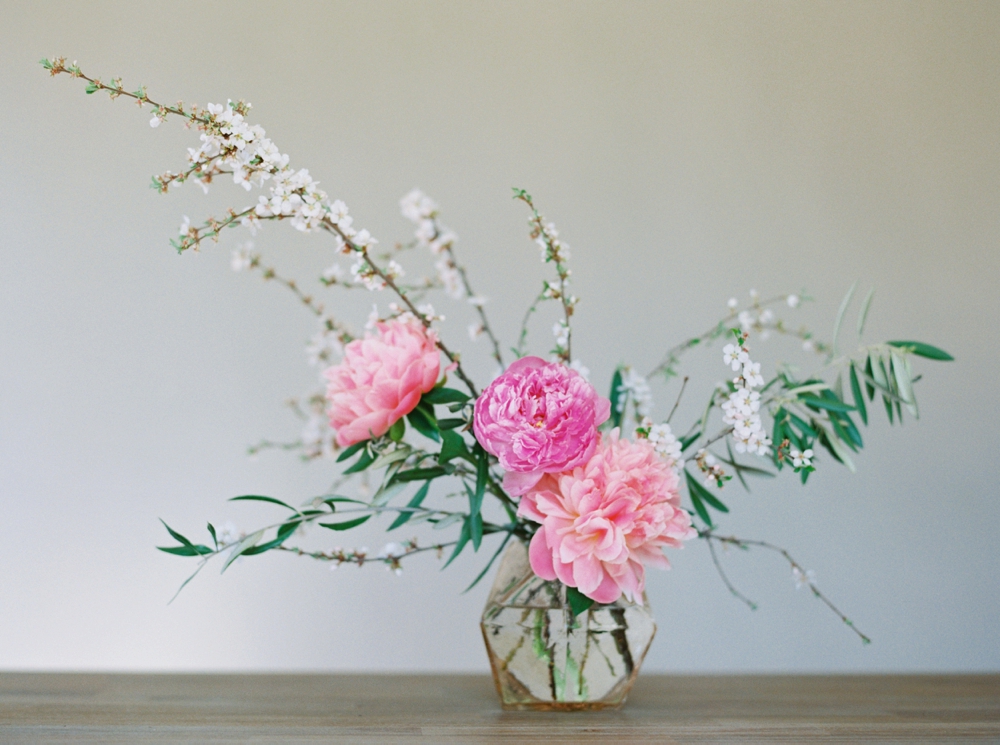

Primary Flowers

Calgary Wedding Photographers_2204.jpg

In this colourful summer arrangement, these gorgeous pink peonies are the star of the show. Typically, the largest flower is considered the primary flower in an arrangement and acts as the focal point. We’re obsessed with pink peonies this month at JustineCelina, so if you’re looking for some free downloadable tech wallpapers with a pink peony theme — you’re in luck! Hop over to our July edition of Digital Blooms to choose from 3 designs.


Secondary Flowers

Secondary flowers compliment the primary flowers in an arrangement. They’re typically smaller and add more interest and diversity in both colour and texture. Our secondary flowers include more of my favourites — tulips, rananculus and craspedia (the little yellow balls, which are also called billy balls!). The tulips in our arrangement aren’t just any tulips — there are a mixture of fringe tulips, double tulips and parrot tulips. If you’d like to learn more about all the different tulip varieties in this arrangement, hop over to our All About Tulips post.
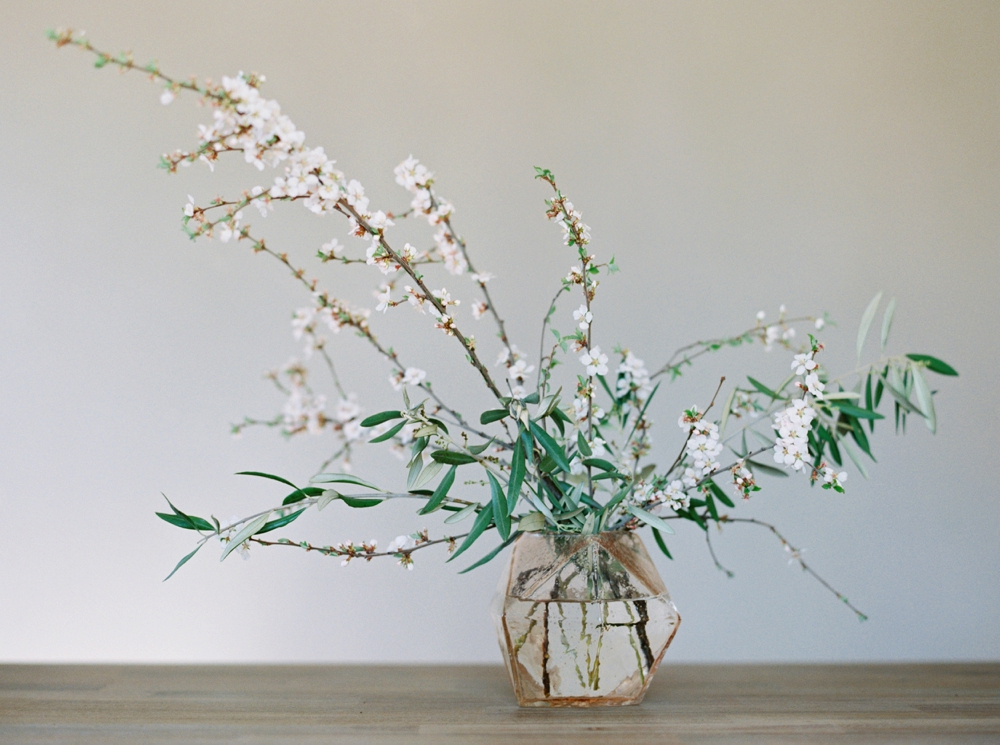

Foliage

Calgary Wedding Photographers_2207.jpg

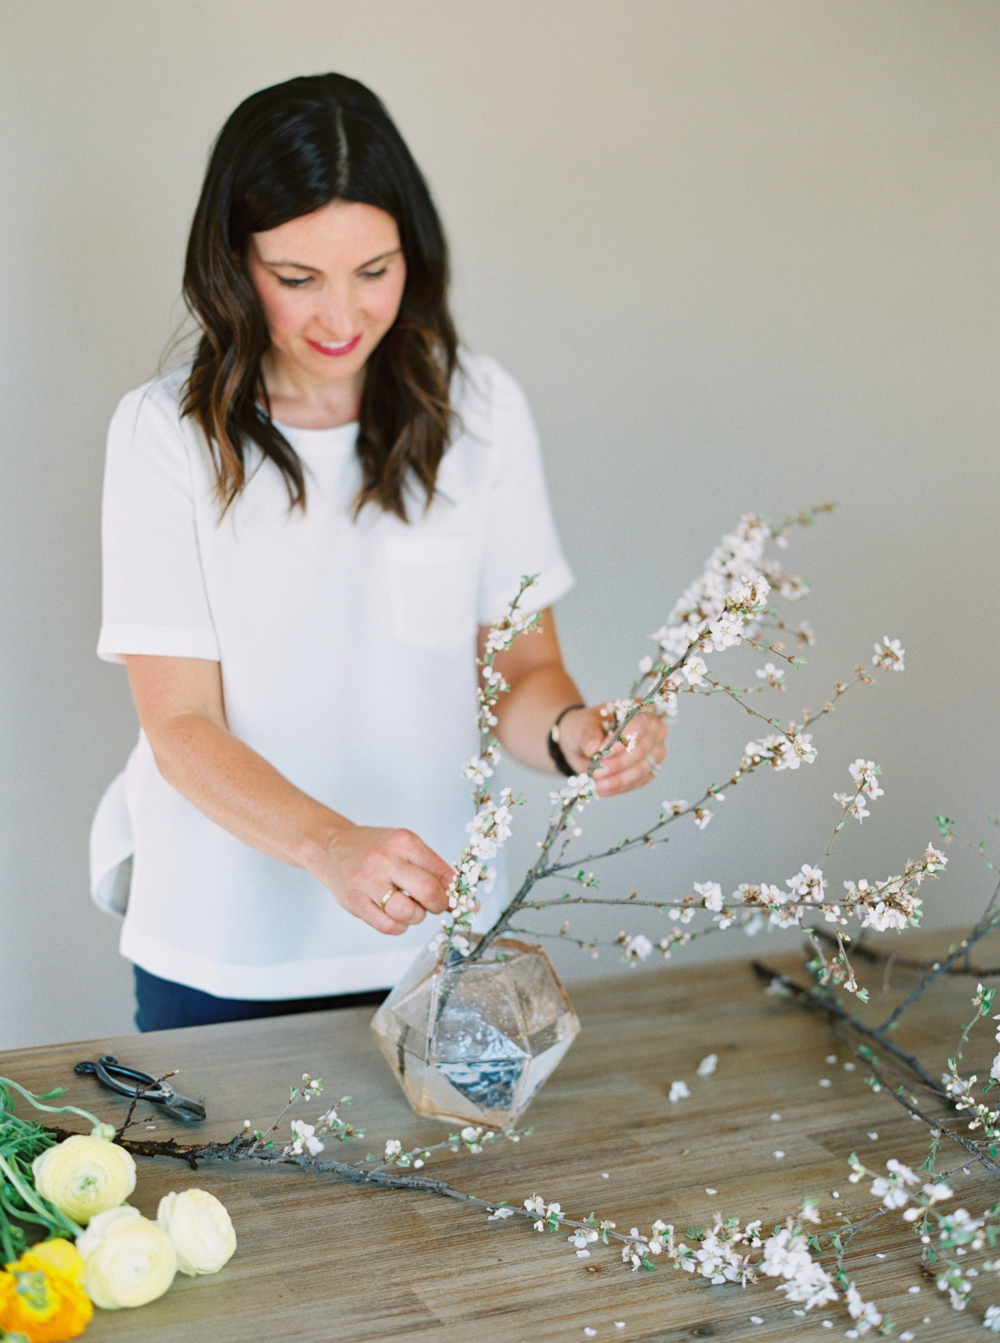
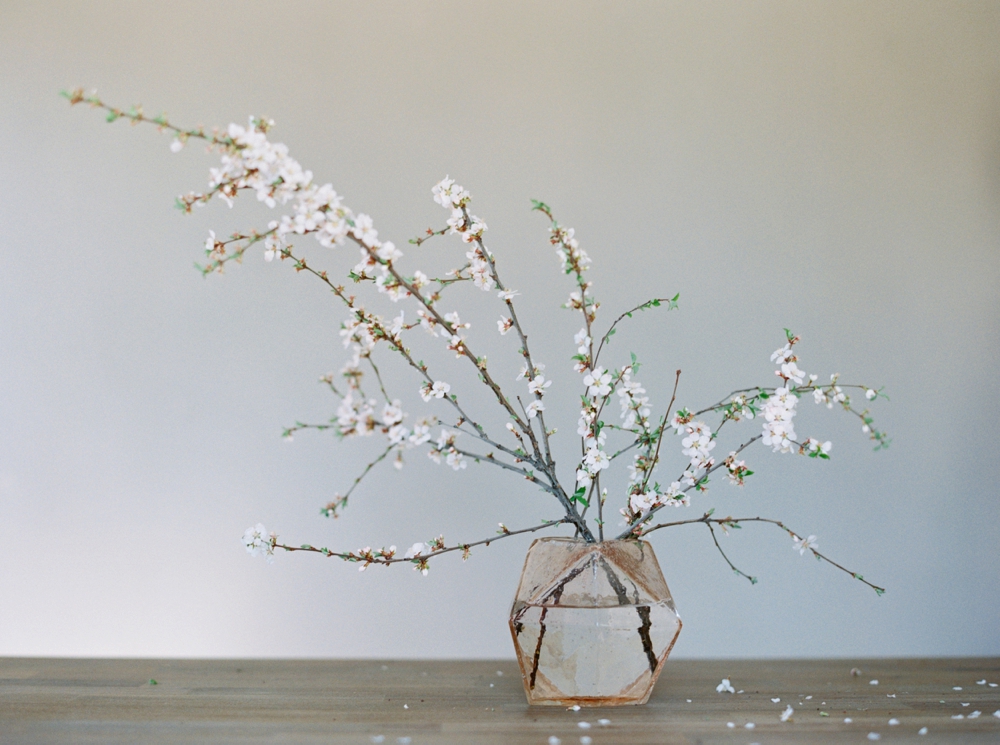
Foliage works to round out an arrangement and add the finishing touches — think of it like the arrangement’s accessories! The blossoming branches are actually from a Nanking Cherry Tree in Rebecca’s Mom’s yard. We both like to bring the outside in (learn more about urban foraging or how we used these blossoming branches for a summer solstice inspired dinner party) and I love the organic look they give the arrangement! Lastly, Rebecca also used some olive branches to tie everything together with a natural, leafy note. 
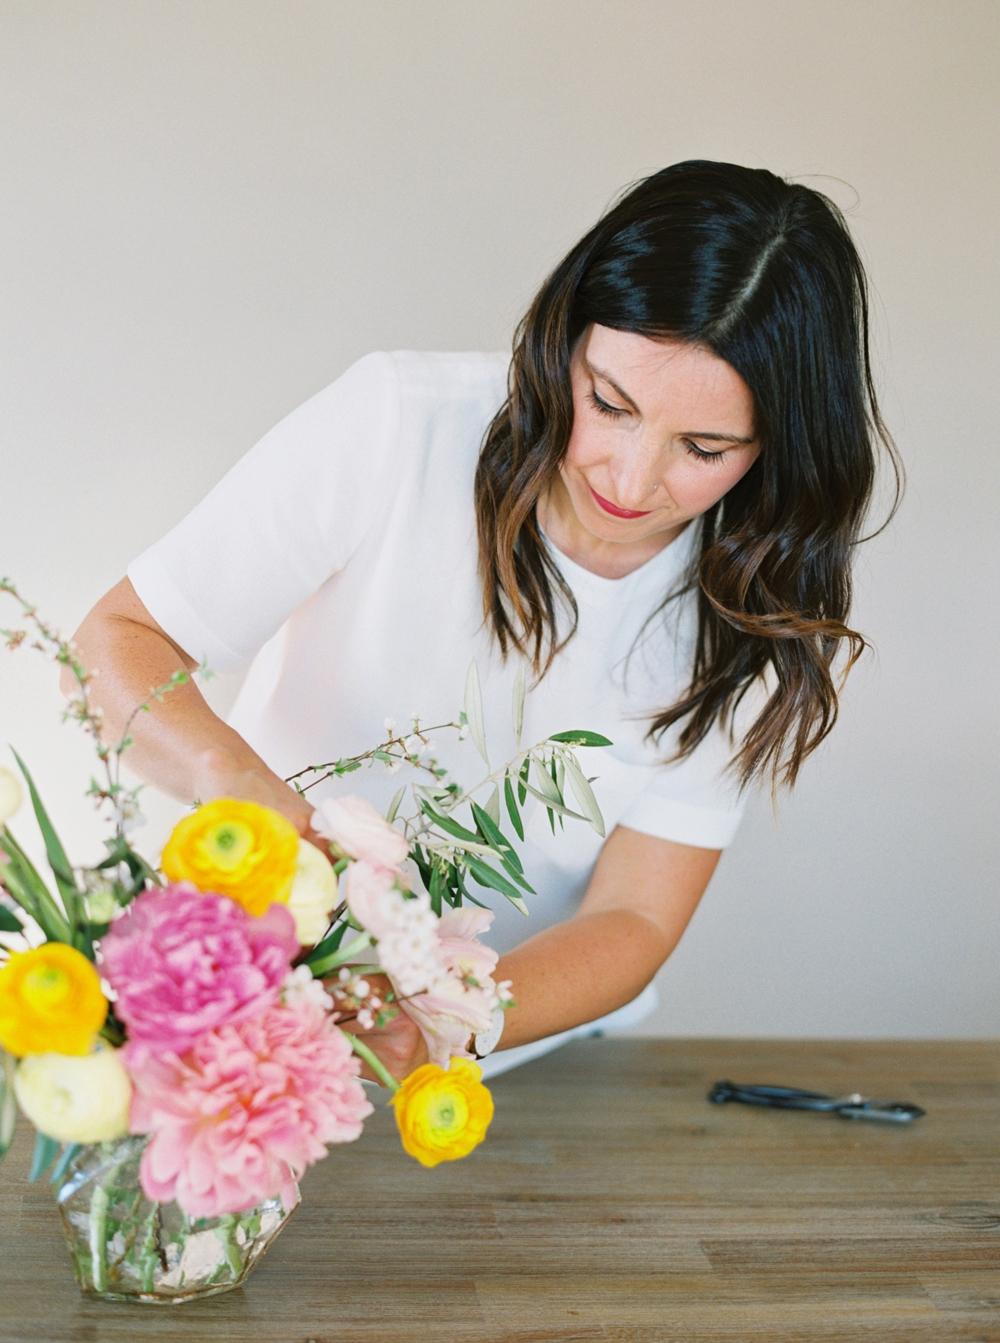

Tools

Calgary Wedding Photographers_2208.jpg

You’ll always find Rebecca with her trusty clippers and floral tape — both of which are flower arranging essentials. Now that we have our ingredients ready, let’s get to arranging!
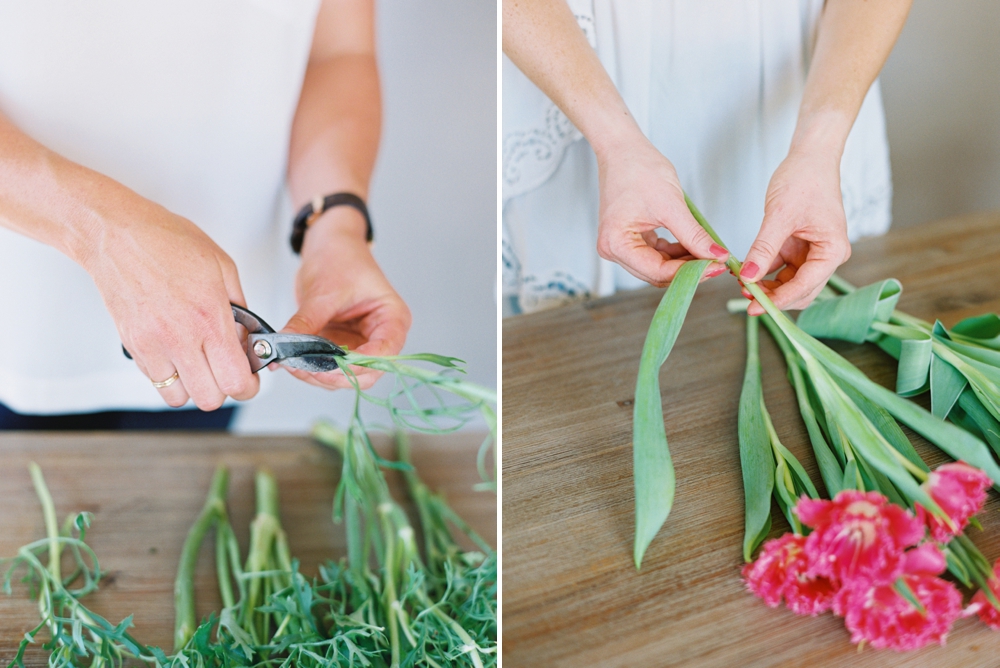
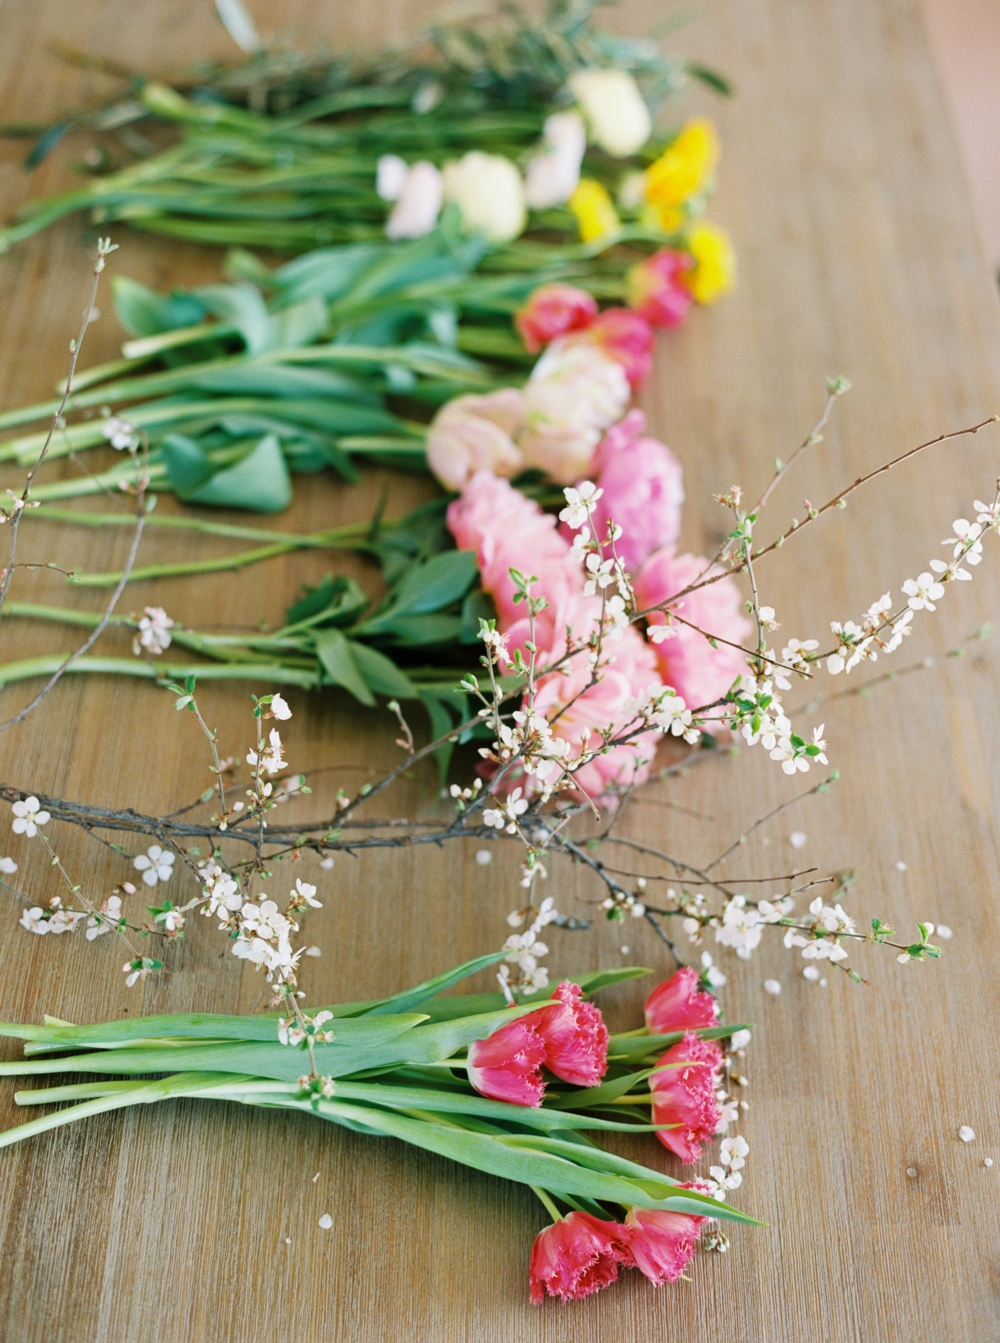

INSTRUCTIONS


1. Prep Your Flowers

Calgary Wedding Photographers | fine art film wedding photographer | commercial photography | diy | floral arranging

In terms of prolonging the life of your arrangement, conditioning your flowers before arranging them is the most important step! Prep your flowers by giving them a fresh cut at a 45 degree angle and removing any foliage that may fall below the water line — any leaves in the water will create bacteria that will shorten the life of your flowers. Read more about flower care and conditioning.

Calgary Wedding Photographers | fine art film wedding photographer | commercial photography | diy | floral arranging


2.  Prep Your Vase

Calgary Wedding Photographers | fine art film wedding photographer | commercial photography | diy | floral arranging

Then, choose your vessel (the vase or whatever item you’re going to use to contain your arrangement). Fill your clean vase with warm water and a floral preservative, preparing the mixture according to instructions on the floral preservative label. You can also tape off the vase with floral tape to create additional structure for your arrangement.


3. Measure Twice, Cut Once

Calgary Wedding Photographers | fine art film wedding photographer | commercial photography | diy | floral arranging

You’ve probably heard this one before, but it applies to flowers, too! Hold flowers and foliage up to your vessel to measure them — gauging height, size and testing out how you would like individual stems in your base layer to lie. Use their natural forms as guides for placement in the vase.

Calgary Wedding Photographers | fine art film wedding photographer | commercial photography | diy | floral arranging


4. Build Your Foundation with Foliage

Calgary Wedding Photographers | fine art film wedding photographer | commercial photography | diy | floral arranging

Begin mapping the shape of you arrangement by placing your foliage around the edges of the vase and crossing the stems — almost like you’re constructing a nest. When you’ve finished, the base should be sturdy and able to withstand the impact of many additional flower stems. To keep your arrangement feeling natural, it’s helpful to establish a singular high point and a few low points to balance out the shape.

Calgary Wedding Photographers | fine art film wedding photographer | commercial photography | diy | floral arranging


5. Add Primary Flowers

Calgary Wedding Photographers | fine art film wedding photographer | commercial photography | diy | floral arranging

Begin adding the largest and sturdiest flowers that you have chosen as your primary flowers — in this arrangement they’re pink peonies. You can keep it low and compact or really angle the stems outward for a large, arching arrangement. Choose 3-5 primary flowers and scatter or cluster them in the arrangement. Keep the arrangement interesting by selecting plants that bloom at different angles and different heights — perfect uniformity is not something you should feel you need to strive for.

Calgary Wedding Photographers | fine art film wedding photographer | commercial photography | diy | floral arranging


6.Add Secondary Flowers

Calgary Wedding Photographers | fine art film wedding photographer | commercial photography | diy | floral arranging

Next, add your secondary flowers to begin filling in any holes in your arrangement. Rebecca always adds the most delicate flowers last, so the heavier blooms don’t squish or damage them. First, Rebecca added the ranunculus in yellow, blush and cream.

Calgary Wedding Photographers | fine art film wedding photographer | commercial photography | diy | floral arranging

Then, she added the some hot pink fringe tulips and some lavender parrot tulips.

Calgary Wedding Photographers | fine art film wedding photographer | commercial photography | diy | floral arranging

To finish things off, she added craspedia (the yellow balls). They’re so cheerful, aren’t they? 

Calgary Wedding Photographers | fine art film wedding photographer | commercial photography | diy | floral arranging


7. Give it a Once Over

Calgary Wedding Photographers | fine art film wedding photographer | commercial photography | diy | floral arranging

Once you believe you have a successful arrangement, do a final check for stems that may not be securely placed or need another trim. 

Calgary Wedding Photographers | fine art film wedding photographer | commercial photography | diy | floral arranging

Congrats, you’ve made your very own summer flower arrangement — now place it in your home and enjoy it! If you want to learn how to maximize the life of your arrangement we have a post full of Rebecca’s expert tips.

Calgary Wedding Photographers | fine art film wedding photographer | commercial photography | diy | floral arranging


While this post is a fantastic resource for flower arranging basics, do you know what’s even better? Learning how to arrange flowers one-on-one! If you’re interested in attending a Rebecca Dawn Design workshop, you can sign up to be the first to know about upcoming dates. Tell her I sent you!

Concept & Creative Direction | Justine Celina Maguire 
Flower Design & Styling | Rebecca Dawn Design


Read & Leave a Comment 

Share Post

Leave a Reply

Your email address will not be published. Required fields are marked *

You might like these latest posts: